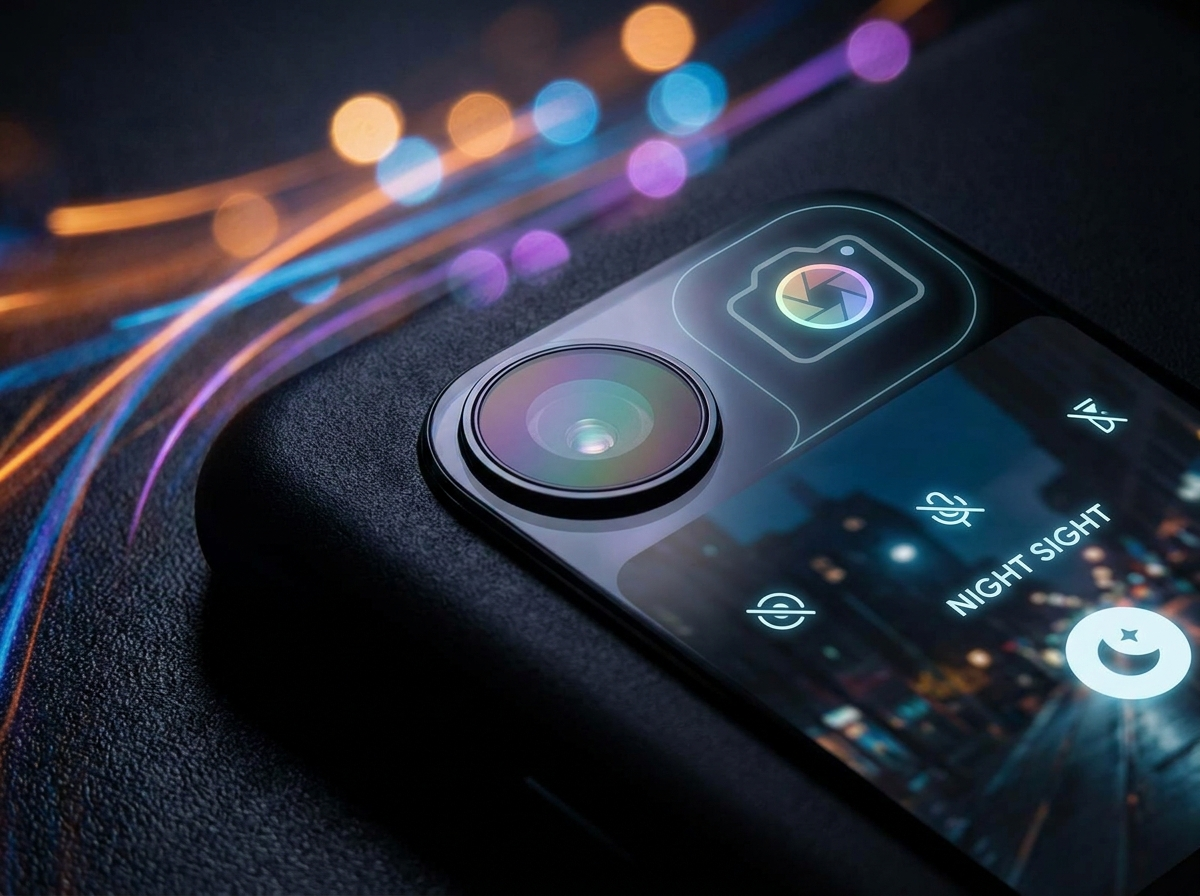
If your Android phone produces soft, noisy photos in dim rooms or at night, the problem is rarely the hardware. Most mid-range phones ship with basic camera software that skips advanced image processing. Google Camera — known as GCam — fixes that gap with computational photography originally built for Pixel devices.
Why Stock Camera Apps Fall Short
Manufacturer camera apps prioritize speed over quality. They capture a single frame, apply minimal noise reduction, and save the result. In low light, that means longer exposure times, motion blur, and visible grain across the entire image.
GCam takes a different approach. HDR+ captures a burst of underexposed frames, aligns them using software, and merges the best detail from each shot. The result is sharper edges, cleaner shadows, and more accurate colors — even on phones that cost half as much as a flagship.
Finding the Right GCam Port
GCam is not a single app on the Play Store. Developers port specific versions to work with different phone sensors and processors. Compatibility depends on your exact model number — not just the brand name.
Before You Download
- Confirm your phone supports the Camera2 API (check with a free app like Camera2 API Probe)
- Find your exact model number in Settings → About Phone
- Search community databases like Celso Azevedo's GCam repository for your device
- Download the recommended stable version, not the newest experimental build
View your results on the big screen: Once you capture sharp photos, cast them to your living room TV for a proper comparison. Our guide on the best apps to turn any TV into a smart TV shows the quickest way to set up screen mirroring and photo slideshows.
Installation and Setup
- Enable Install unknown apps for your browser in Android settings.
- Download the GCam APK matched to your device from a trusted source.
- Open the file and tap Install. If prompted, also install the companion config XML file.
- Launch GCam and grant camera, storage, and microphone permissions.
- Open settings and verify HDR+ is enabled for the rear camera.
Recommended GCam Settings
Start with these settings and adjust based on your results. Small changes make a visible difference in sharpness and color accuracy.
- HDR+ Enhanced — best balance of detail and processing speed
- Auto white balance — leave on unless shooting under mixed lighting
- Astrophotography mode — enable for night sky shots on supported ports
- Google Photos shortcut — disable if you prefer a different gallery app
Comparing GCam vs. Stock Camera
Take the same scene with both apps — a bookshelf, a kitchen counter, or a street at dusk. Zoom to 100% on details like text, fabric texture, and leaf edges. GCam typically preserves finer detail in shadows where the stock app smears noise.
For documenting mechanical work — engine bays, wiring harnesses, or dashboard readings — sharp photos save time when troubleshooting. Pair this with our guide on scanning your car with a smartphone to build a complete record of every repair with clear visual evidence.